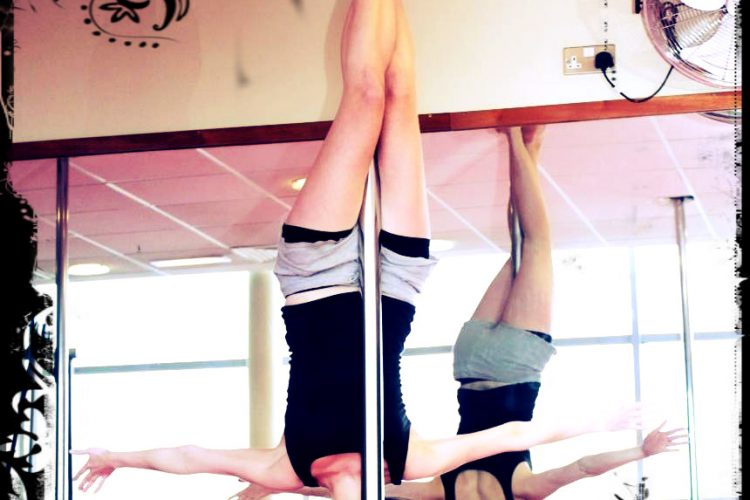
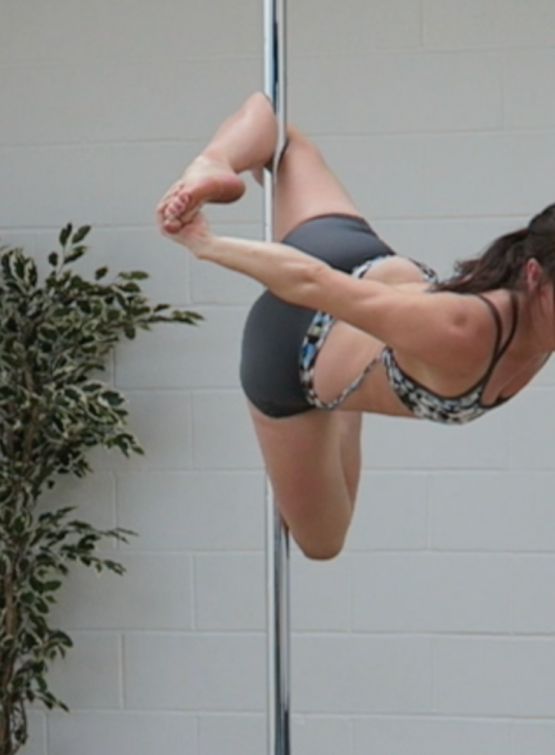
I don’t know about you, but a lot of the things I find about pole dancing tend to be based upon inverted moves – pictures, videos, competitions, people talking about their achievements. You name it, and everyone’s doing it.
Getting upside down is a really big achievement that is often forgotten. Before you manage to do it, you can spend weeks or months trying and one day it all just clicks. Others just get up there on their first try! It’s such a great feeling when you’re up there and working on other tricks, but a lot of the time people forget how hard it was to invert in the first place.
I’m here to say, don’t give up – you’ll get there 🙂 Sadly, I can’t remember my attempts at inverting – but I guess that means it can’t have been too much of a traumatic (!) experience. That said, I kind of remember getting upside down and having the panic of ‘what goes where?’ and ‘am I going to fall on my head?!’.
My Tips
Everyone has their own way of getting upside down at first. Here is what I have found that helps. Now, I’m not saying that technically this is the best way of doing it, but the way I see it, is that if you can get upside down, you can start working on other moves whilst still improving your inverting technique.
Make Sure You Are Ready
When you are upside down, your legs are in the same position as a climb on the pole. Make sure that you can climb the pole and hold your hands out in a crucfifix. The feeling of being upside down, does make it feel different, but your legs will still be in the same position on the pole. If you can’t hold this while being the right way round ask yourself if you’re ready to invert. There’s no point getting there if you can’t hold on, especially if you may end up hurting yourself.
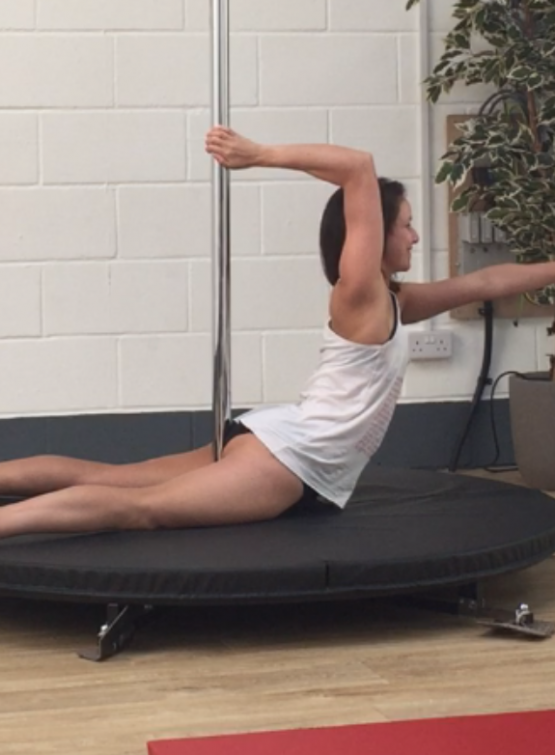
Practice From The Floor
If you practice from the floor you will have a better idea of what to expect when you get there. On your first few attempts you will probably be surprised that you managed to get there, that you forget where to put your legs!
Lie on the floor with the pole by your armpit on your inverting side. Hold onto the pole with your inside hand in a forearm grip, outside comes slightly above. From here, lift your outside leg on the pole and hook it over at the heel. Keep this leg in front of the pole (closer to your head) as the other leg comes on to the pole behind. From here, slide your legs up so that they are closer to the ceiling, as straight as they can be. Practice squeezing on to the pole with your legs to help you get the feeling of holding your weight.
Don’t Forget To Tilt
It is really important to tilt back as you invert – you are aiming to tilt your head and upper body back (closer to the floor) to help get your legs up there. This can be a scary feeling at first! Imagine your body like a see-saw. In order to make one side go up, the other has to go down. It is really easy to think that you just have to get your legs there and not worry about the rest of your body. If you manage to get up this way, you’ll probably find that you will be very close to the floor. Try to counter balance yourself and tip back as your legs come up, which will help get your legs up there.
Know How To Get Down!
We spend so long thinking about getting up that we don’t often think about getting down!! The most important thing if you are sliding / possibly (but hopefully not) falling down, is to tuck your head. This will help protect your head and neck and as long as they can get to the ground, the rest of your body will follow – in a hopefully painless way.
Never Give Up
I know it’s easy to look around class and see everyone else getting upside down so easily, that it makes you want to give up. Everyone learns at their own pace. It might take you longer to get upside down, but there will be other moves that you will learn quickly. It’s so much better to be safe than sorry. If you can’t get up today, then maybe you need a little more strength and confidence and tomorrow will be your day. You will get there 🙂
The How To Part
- Stand side on to the pole – inside arm as a forearm grip about shoulder height, outside hand slightly above. (Try to keep these hands low – if you need them higher at first, that’s okay but you’ll find they get stuck between your legs!)
- Aim to lift your legs up – trying to get your outside heel over the front of the pole – the side closer to your head. (This is where technique can be lacking at first and then worked on!) You may find that at first you don’t have enough strength to lift up and tilt, and need to kick up instead. Be really careful if you do as people tend to really go for it and kick the pole. Focus on getting just your outside heel on the pole and the rest will follow.
- Drive the outside heel towards the ceiling as you bring your inside leg onto the pole, behind it. Aim to get your knees inline and your ankles inline and crossed over the pole.
- Straighten your legs as much as you can (I know there’s a pole in the way!)
- If you need to come down, slightly loosen the grip on your hands and legs to slide gently to the floor. Otherwise, allow your head, shoulders and torso to come low, to straighten your body. You want your whole body in a straight line on the pole.
- At this point you are properly inverted 🙂 At any point, tuck your head to your chest and roll down slowly. You could also try a Crucifix, Thigh Hold or even Butterfly Handstand – just make sure you’re ready for it!
I hope this helps 🙂 Stay calm and take your time. You will get there and then there will be so many more moves to try that will frustrate you 😉
Stay safe and happy poling x


